Monday, 23 April 2012

Darkroom Prints

As I am focusing on the theme of the past and war time experiences I took some photos with my SLR that follow my theme. These are photographs that I had taken in the Imperial War Museum. I hoped to achieve high quality prints with good contrast. 


I tried to achieve a shot as if the planes were being aimed at. I wanted the planes to be viewed through the crosshair but  because of the angle it was positioned at the shot would have had a lot of background image and not a lot of the different exhibits I wanted in the shot. 
I took a photograph of one of the front pages of a newspaper. I chose this one because out of all of the newspapers this one had more working on it linking to the war. It is quite grey because the light in the room was quite dim and I didn't have an inbuilt flash on my camera.
As I looked around at the different exhibits I chose which ones would make a good composition. I wasn't expecting this image to come out with good contrast because the lighting was not that great around the machinery. 


The contrast is good but the print is a bit grey, to improve this I would change the timings. 


The contrast on this print is good. I had the light on f16, filter on 5  and exposed for 7seconds.


I think that the contrast is of a good standard, this is helped by the lighting on  the subject matter.


This print is has quite good contrast which I didn't expect seeing as there was on direct natural lighting directed on it. 


The contrast on this print is quite good, but in my own opinion I think that it is too dark. However I am just judging it by this scanned in version whereas the original print doesn't look as dark as this.
This photograph has come out grey, this is due to the lighting in the room with the newspapers was quite dim. I added a filter to make the image have more contrast.
These next set of photographs were taken of different posters and pictures around the museum.The photographs didn't come out that sharp because the poster photos were enlarged and therefore were not as sharp as a primary photo.


This photograph came out slightly washed out because the image wasn't exposed for long enough.


This was my second attempt which came out with more contrast than the first.


Don McCullin

Don McCullin born 9th October 1935 is an internationally known British photo journalist. He is mainly recognised for his war photographer. In 1959 a photograph that he had taken of a local London gang was published in the Observer. This lead him to work for the Observer for several years. Between 1966-1984 he worked for the Sunday Times magazine. His assignments included Biafa, the Belgian Congo, the Northern Irish 'Troubles', Bangladesh, The Lebanese Civil War, El Savador, and The Russian Invasion of Afghanistan. His most famous photos are of Vietnam and Cambodia.
On visit to the Imperial War Museum in London I took a look around the 'Shaped by War' exhibition by Don McCullin. It consisted of various room exhibiting his photographs taken when working for the Sunday Times. His photographs were very moving has he had captured the emotion and atmosphere in every image. His use of spacing was great considering he was amongst war and conflict taking place. His photographs showed the realisation of what took place and what is still happening now in some countries. One set of images made me feel really emotional and disgusted at what had happened was one photograph being of a family standing by a staircase then the image next to it of that family all lying on the floor after they had all been shot. I love the fact that he uses black and white photography as it makes the image more powerful; his work influenced my choice of photographs for my final idea. 

Monday, 9 April 2012

Initial Idea

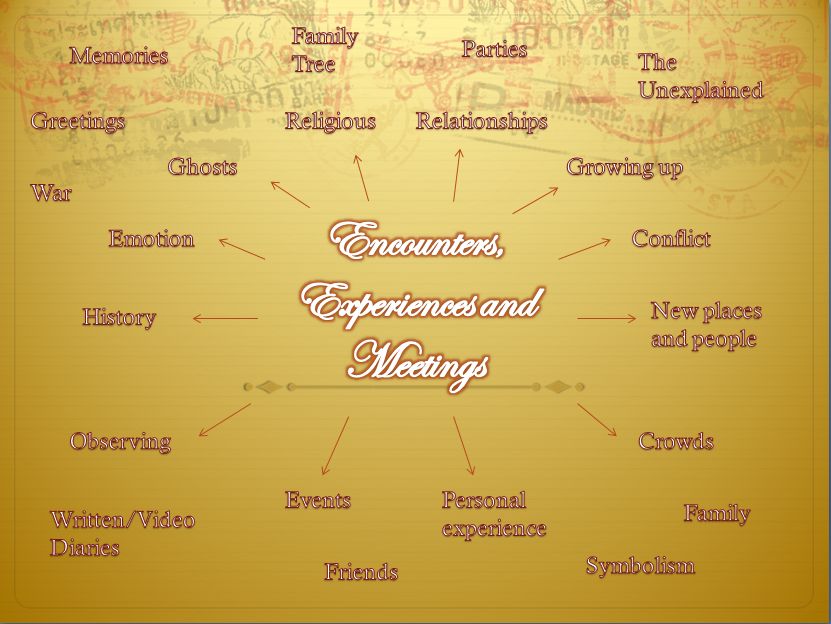
I've thought of different ways I can explore the theme of encounters,experiences and meetings by creating a mindmap of ideas.
An area that I am interested in exploring is past and war time experiences. My visit to the Imperial War Museum in London will assist my idea that I am exploring. I hope to shoot a whole film roll of the different exhibits. 

Tuesday, 20 March 2012

Rankin Inspired Experimentation

I was inspired by Rankin to experiment with create my own 'Destroy Rankin' images. I started by taking self portrait photos on Photobooth. I printed them off then cut them up and experimented with using different objects and mediums to 'destroy' the photographs. 
I cut around my image and cut out my hand. I cut out the background pattern on  purple  paper and placed it on top on yellow paper. I then placed around my image with space invaders and smiley faces I had made. 
On a sheet of clear plastic I drew some doodles onto the plastic then placed it on top my image. 
I drew cat features onto my image then cut it into squares and placed in on the background I had used previously for another image. I then scattered origami stars that I had made around the image. 
I scrunched the photo up then ripped it into sections. 

I developed my previous image by placing photos of me when I was little behind the torn up photo.

I experimented further by using Photoshop to edit and 'destroy' them further. I made my own brushes and experimented with different layer modes and blending options.
I added flares of light and different star brushes.

I added coloured feathers and glowing stars. 

Monday, 19 March 2012

Rankin Destroy Analysis

The 'Destroy Rankin' project was to mark the 10th anniversary of Youth Music, the UK's largest music charity for young people. Musicians were photographed by Rankin then they 'destroyed' one of their photographs. Over 90 Musicians were asked to take part in the project. They could destroy the image in any way they wished, whether it be ripping it up, painting on it or to express themselves on the photo.

I love the way his work is so imaginative and creative, and the not one piece of work is the same, each individual picture has its own response to 'destroy'. My favourite piece is Debbie Harry's photograph, link, I like the use of different materials such as masking tape and string, it makes you want to feel the work as its gone from a 2D photograph to a edited piece of work. I love the fact that these materials were used as they are usually used to fix things, whereas in this work is it used to 'destroy' the image.  

Sunday, 18 March 2012

Final Print

For the theme of life cycle I had to submit a 8x10 final print. From my set of negatives I decided on my favourite two images them developed them in the dark room. To ensure that my prints came out well I made sure that I they were in each tray for the correct amount of time. 

This is my favourite image as I like the composition and spacing. 
I think this symbolizes life cycle as it a grave stone of an angel, expressing life after death. 

Friday, 17 February 2012

Unit 2 - Gravestones

As one of my ideas was to take photographs of stages in life, I took some photographs of gravestones to show the end of life. 
F8, Filter 5, 2.2 seconds exposure
F8, Filter 5, 2.3 seconds exposure

F8, Filter 5, 2.3 seconds exposure

Unit 2 - Five Ideas

1. Stages of decomposing fruit.
2. Abandoned houses, hospitals and churches. 
3. Photographs of objects showing stages of life from childhood up to death.
4. Seasons.
5. continuous photos from day through to night of a certain scene such as a field or forest.

Unit 2 - Life Cycle - Bill Viola and Andy Goldsworthy


Bill Viola specifically works with video media. The 'Nantes Triptych' is a video series created in 1992, the duration of this piece is 29 minutes and 46 seconds. The Nantes Triptych was originally made as a commission for the Centre National des Arts Plastiques in France to be shown in a 17th century chapel in the Musée des Beaux Arts in Nantes. The three panels show video footage of stages in life. The first being a birth, the second being a metaphorical journey between birth and death by a body floating in water, and the third being death. The footage of each stage was not originally intended for this piece; the birth was inspired by the birth of Viola's first son, the floating body was for an earlier piece of work called The Passing, and the death is of his mother as she lay dying in a coma. The footage is accompanied by the sound of crying, water movement and breathing. 


The way that he has brought all three passages together to create The Nantes Triptych in order from birth to death reflects life cycle as if telling a story. In my opinion I don't think of this piece of being depressing and only having three stages of life; I see it as life is never ending, as one being dies, another is born. As the duration of it is nearly 30 minutes I see an inner meaning to it of live life to the full because before you know it it could be over.  


Andy Goldsworthy


Andy Goldsworthy, born 26th July 1956, is a British sculptor and photographer who works with nature to make creations. 
The materials he uses for his works often include bright coloured flowers, icicles, leaves, stones and other natural objects. As he only uses natural found objects he cannot edit change them, he uses his bare hands, teeth and found fools to arrange the materials in a way that he is happy with. Andy Goldsworthy also makes permanent sculptures like Roof, Stone River, Moonlit Path which he used machine tools and worked with assistants to build the sculpture and make sure it could withstand time and nature. Photography plays a crucial role in his art, each piece of work grows and decays over time but by taking a photograph of the work will always capture the moment. 
I like the impermanence of his sculptures and the natural beauty within them. Goldsworthy did not build his sculptures to stay, his work is meant to change with the surroundings, and the only permanence of his sculptures is within the photographs he takes after the final product, or before it has disappeared. Andy Goldsworthy always uses natural materials surrounded by the site-specific nature area where he chooses to create his sculpture.
The sculpture that interests me is Pebbles Broken and Scraped. He made something ordinary transform into something we'd take a second look at. I love his idea behind all of his sculptures. I like his understanding of nature, and participation with nature directly; from where he creates and places his artwork to the materials he uses. I feel that his artworks are about the transformation of nature, which we do not pay much attention to, into something to be appreciated and looked at as something of an art form.

Sunday, 22 January 2012

Evaluation

Evaluation

This project involved exploring the theme of 'light'. I considered the different ways light can be used, different sources of light and how it can be represented. I started by looking at the work of Pablo Picasso, Bill Brandt and Patrick Rochon. Picasso's work inspired me to create my own light drawings. Picasso would use the light and direct it towards the camera to create different drawings. I decided to experiment with creating my own like Picasso's.
I used the software called glow doodle to experiment with light drawings. It was done interactively using a webcam. I thought of two ways of experimenting with light in glow doodle. The first was pointing the light source directly at the camera to draw the image. The second was by pointing the light source away from the camera and towards an object at different angles.

I then light drawings using a digital camera. I set the digital camera to the light tripod setting, this allowed me to take an image on a slow shutter speed. Even though the shutter was only open for a few seconds, that was enough time to draw some images and patterns. I took my idea further by using two torches that were covered in tissue paper, this made the images appear in different colours. Using some of the images I had created I edited them in Photoshop. I overlayed 3 images, 2 being the wings and the other being a halo. The outcome of my experiment was an angel. 


I used software such as photo shop to create light paintings. I found it hard to do them at first as I was not that familiar with some of the techniques in Photoshop. However as I created more of them I found it easy to do all the steps. In my opinion I think that they don't look realistic or look like light drawings but I do understand that they have the same effect. 
I explored different forms of light such as synthetic lighting being torches and lasers, and natural lighting such as sunlight, natural fires. I took some of my own photos of sparklers, sunlight through tress, settled snow in an early morning and candlelight. 


Using and SLR camera I took some still life pictures. The objects were bits and bobs that has reflective surfaces. I changed the angle of the light so that the light reflected off different objects in different ways. I liked experimenting with the light and positioning of the objects to create a range of images. 


I found researching the different types of lighting such as soft lighting, hard lighting and back lighting, helped me as I now have an understanding of the different types of lighting and how it can improve my techniques and skills. 

Portraits

Digital Portraits

I experimented with using studio lighting to achieve some portraiture photos. I only took close ups of the face to make the images look more dramatic. Once I had taken them I edited them in Photoshop by desaturating them and changing the contrast.


Candles

 Candles 
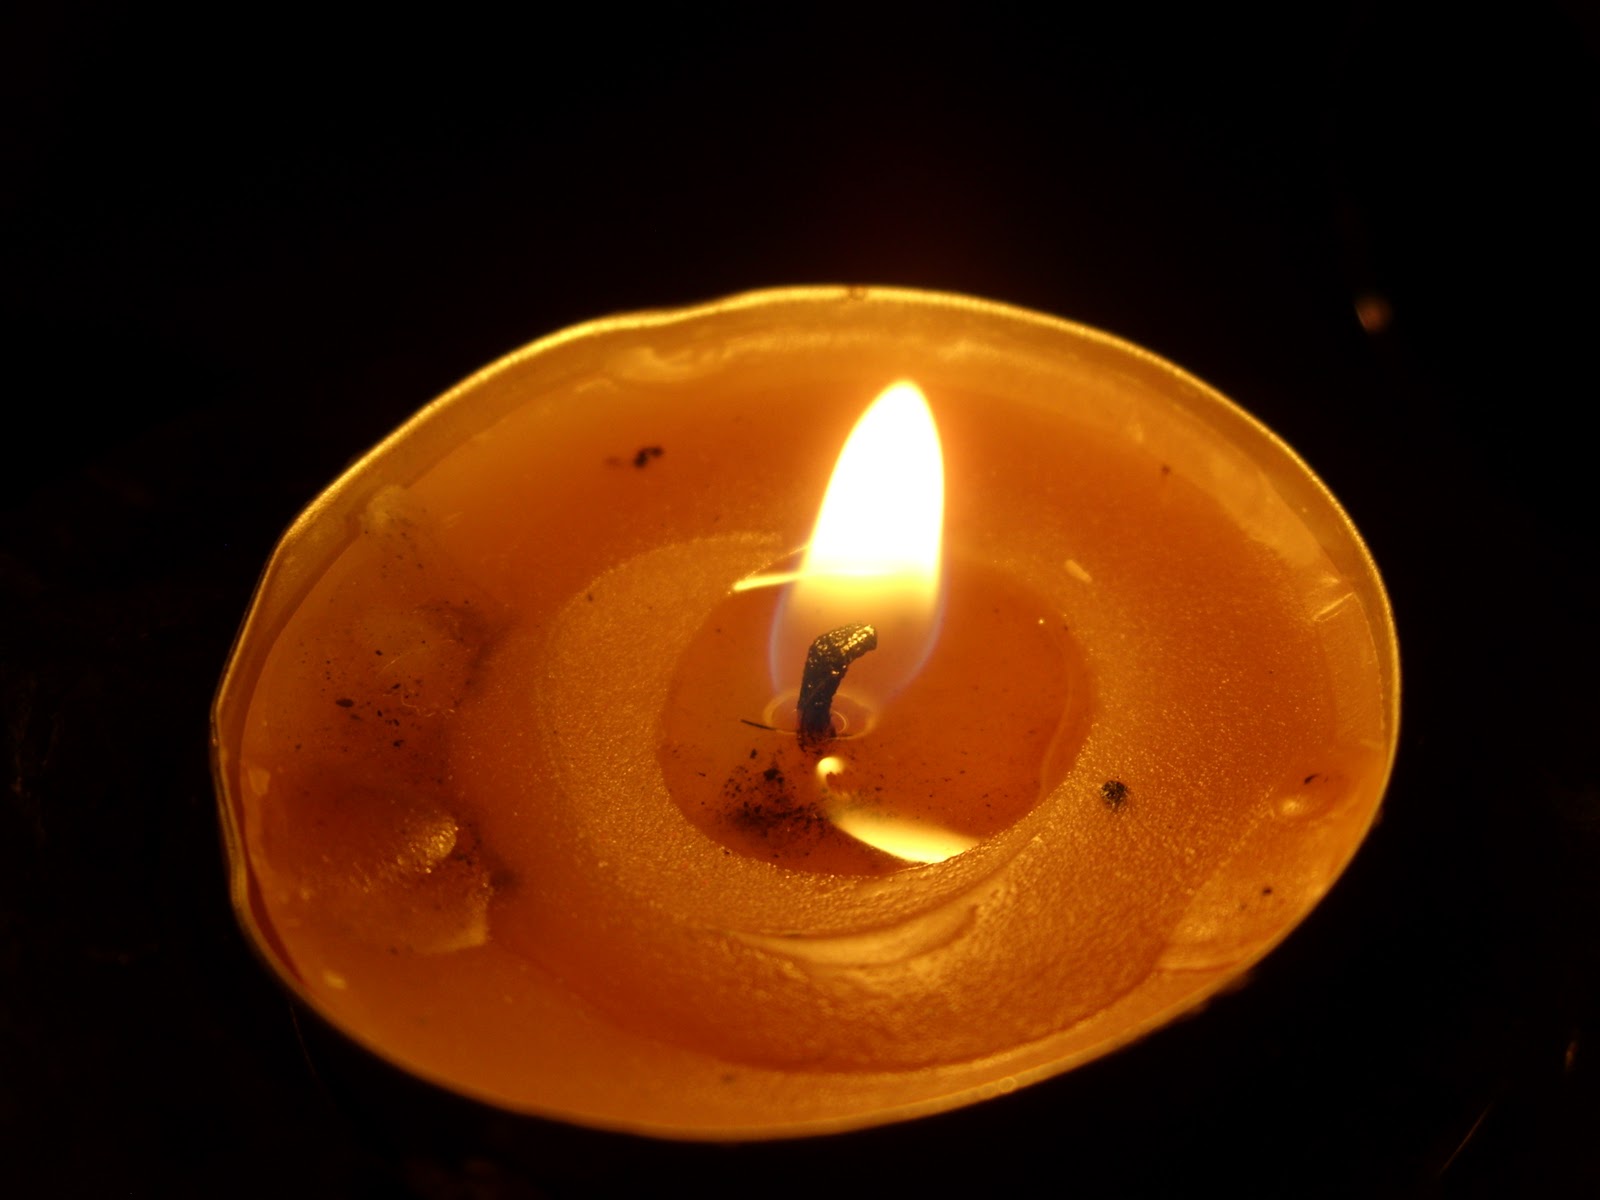
I took some images of candles to show synthetic forms of light. I used my 14 mega pixel Fujifilm JX530 digital camera to take these pictures. I Then edited some of them in Photoshop by Overlaying as a new layer some light drawings and coloured filters. 


I edited this image in Photoshop by adding a new layer of coloured light over the original image. I change the layer mode to screen so that the colours came out vibrant but without distracting away from the main image.
In Photoshop I opened the candle image and a light drawing image. I put the light drawing as a new layer on top of the candle image.  I changed the layer mode so that you could see both the candle and the light drawing. 


Thursday, 5 January 2012

Sparklers

Christmas

I used my digital camera to take pictures of sparklers. I set my camera on the firework setting as it has a slow shutter speed. The firework setting only has a shutter of about 3 seconds which meant I didn't have enough time to draw anything specific other than circles.
This was the first image I took. I was experimenting with the different settings on the camera  to see what the different outcomes were. I set my camera to the firework setting so that it had a slow shutter speed.

As it was set on the firework setting this meant that the shutter could stay open for longer. By moving the sparker around these are the different outcomes I produced.


This is my favourite image because the light flares fill the whole composition space.