Showing posts with label Unit 1 Coursework. Show all posts

Sunday, 22 January 2012

Evaluation

Evaluation

This project involved exploring the theme of 'light'. I considered the different ways light can be used, different sources of light and how it can be represented. I started by looking at the work of Pablo Picasso, Bill Brandt and Patrick Rochon. Picasso's work inspired me to create my own light drawings. Picasso would use the light and direct it towards the camera to create different drawings. I decided to experiment with creating my own like Picasso's.
I used the software called glow doodle to experiment with light drawings. It was done interactively using a webcam. I thought of two ways of experimenting with light in glow doodle. The first was pointing the light source directly at the camera to draw the image. The second was by pointing the light source away from the camera and towards an object at different angles.


I then light drawings using a digital camera. I set the digital camera to the light tripod setting, this allowed me to take an image on a slow shutter speed. Even though the shutter was only open for a few seconds, that was enough time to draw some images and patterns. I took my idea further by using two torches that were covered in tissue paper, this made the images appear in different colours. Using some of the images I had created I edited them in Photoshop. I overlayed 3 images, 2 being the wings and the other being a halo. The outcome of my experiment was an angel. 


I used software such as photo shop to create light paintings. I found it hard to do them at first as I was not that familiar with some of the techniques in Photoshop. However as I created more of them I found it easy to do all the steps. In my opinion I think that they don't look realistic or look like light drawings but I do understand that they have the same effect. 
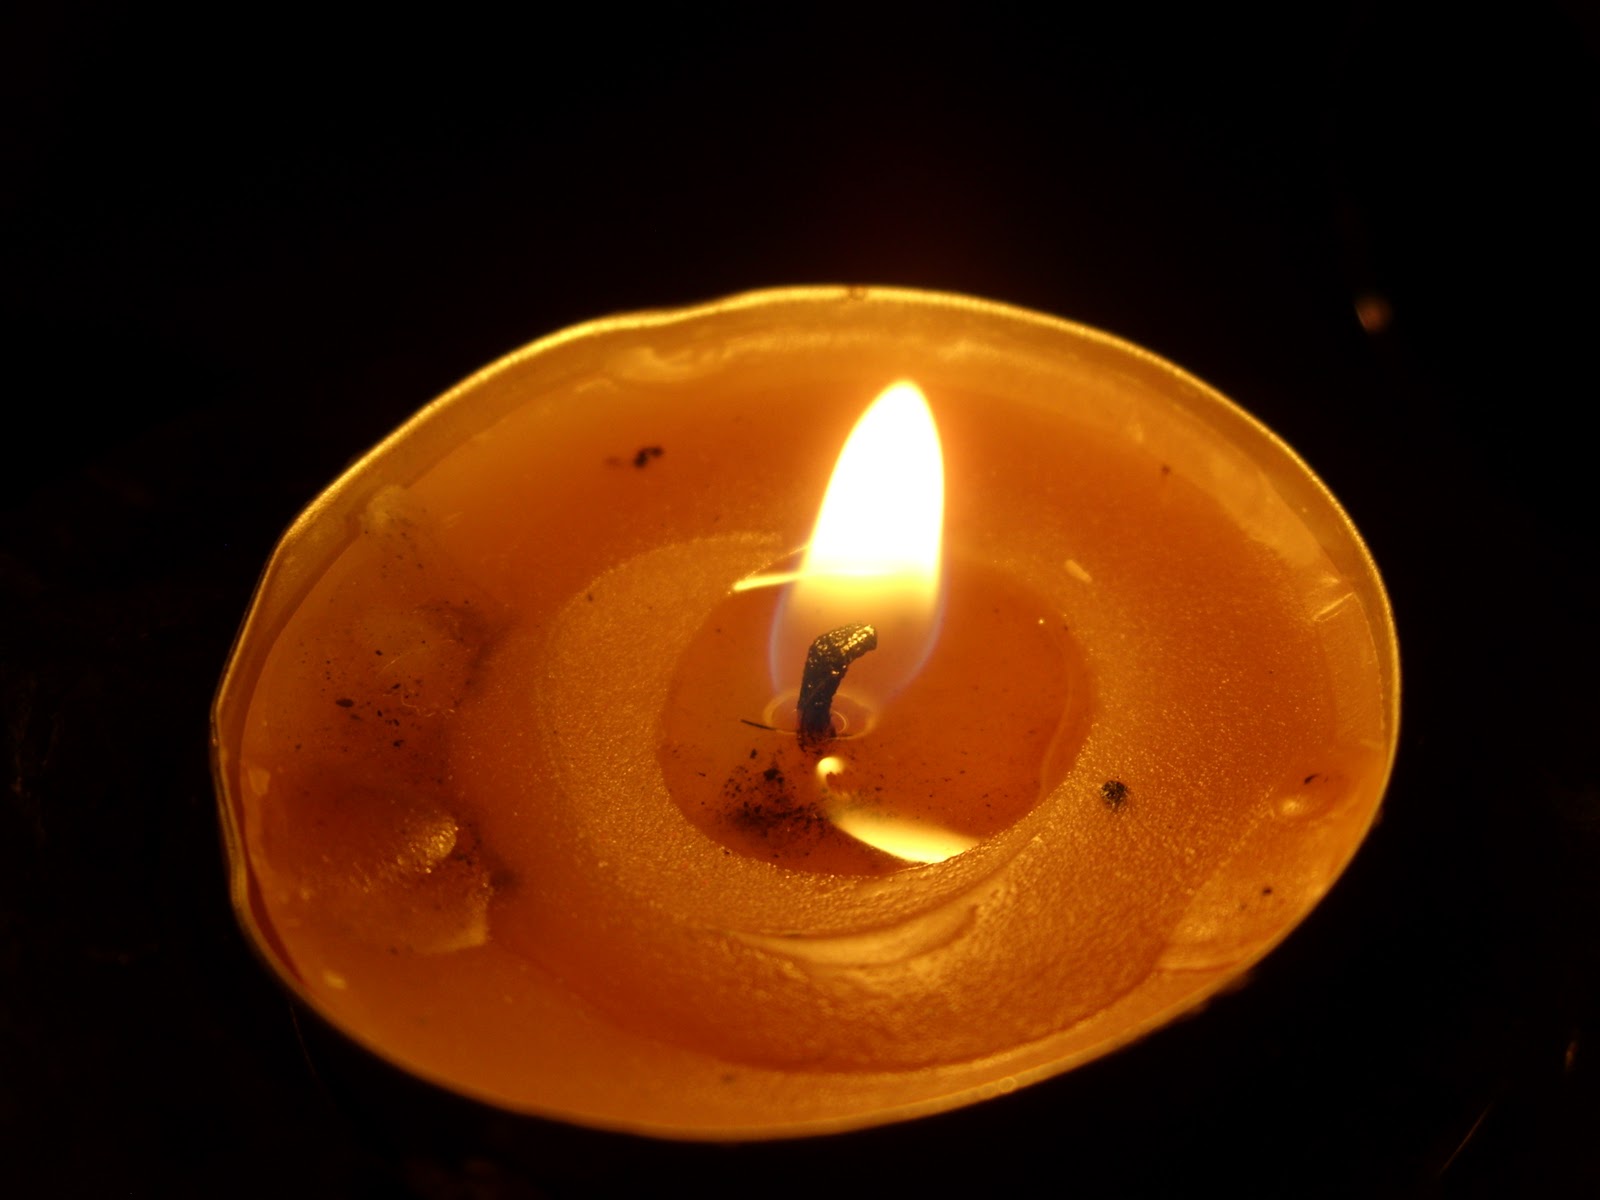
I explored different forms of light such as synthetic lighting being torches and lasers, and natural lighting such as sunlight, natural fires. I took some of my own photos of sparklers, sunlight through tress, settled snow in an early morning and candlelight. 


Using and SLR camera I took some still life pictures. The objects were bits and bobs that has reflective surfaces. I changed the angle of the light so that the light reflected off different objects in different ways. I liked experimenting with the light and positioning of the objects to create a range of images. 


I found researching the different types of lighting such as soft lighting, hard lighting and back lighting, helped me as I now have an understanding of the different types of lighting and how it can improve my techniques and skills. 

Portraits

Digital Portraits

I experimented with using studio lighting to achieve some portraiture photos. I only took close ups of the face to make the images look more dramatic. Once I had taken them I edited them in Photoshop by desaturating them and changing the contrast.


Candles

 Candles 
I took some images of candles to show synthetic forms of light. I used my 14 mega pixel Fujifilm JX530 digital camera to take these pictures. I Then edited some of them in Photoshop by Overlaying as a new layer some light drawings and coloured filters. 


I edited this image in Photoshop by adding a new layer of coloured light over the original image. I change the layer mode to screen so that the colours came out vibrant but without distracting away from the main image.
In Photoshop I opened the candle image and a light drawing image. I put the light drawing as a new layer on top of the candle image.  I changed the layer mode so that you could see both the candle and the light drawing. 


Thursday, 5 January 2012

Sparklers

Christmas

I used my digital camera to take pictures of sparklers. I set my camera on the firework setting as it has a slow shutter speed. The firework setting only has a shutter of about 3 seconds which meant I didn't have enough time to draw anything specific other than circles.
This was the first image I took. I was experimenting with the different settings on the camera  to see what the different outcomes were. I set my camera to the firework setting so that it had a slow shutter speed.

As it was set on the firework setting this meant that the shutter could stay open for longer. By moving the sparker around these are the different outcomes I produced.


This is my favourite image because the light flares fill the whole composition space.


Friday, 30 December 2011

Patrick Rochon


Patrick Rochon


Patrick Rochon is a photographer best known for his light paintings. He used to do 'traditional' photography but in 1997 when he flew Tokyo he decided to dedicate all his time to his art and called himself a light painter and never did traditional photography again. In most of his light paintings he always collaborates with dancers and performers, fashion, high-end products, nudes and cars.

light paintings are easy to create. At night or in the dark, put a camera on a tripod or on a stable flat surface. open the shutter on the camera for an extended period of time, then with a light or multiple lights move around in front of the camera. Close the shutter on the camera when the painting is finished. There are two ways you can create light paintings, you can either light paint onto a subject so that certain areas are lit up or you can turn the light towards the lens to draw what you want. The exposures can be as long as you want or as long as you camera allows.

Toyota Altezza, Japan 1998

While Patrick Rochon was in Japan he was introduced by photographer Mark Higashino to Itaru Sugita an art director and graphic designer. In 1998 Itaru Sugita was working on a presentation for Toyota Altezza and Patrick Rochon said "why don't you light paint it?" as a joke but he said it's a good idea and that's when ideas started flowing as to how to illuminate the car in a light painting.

He first started by light painting on a miniature toy car with aluminium foil in the background to present the concept to Toyota. He then went on to test it on a real car. They did a test in the studio with a different car then the Altezza, all with 4x5 format cameras, shooting with 4 or 5 different cameras and one being Polaroid film. They shot for 2 days in the studio then presented it to Toyota and spent one more day shooting with Patrick Rochon adding his style to it. On the day of the shoot he had music blasting while he was dancing around with the light painted on and around the car. He did about 15hours of light painting a day over a period of 3 days in a row. some of the camera exposures lasted up to 30 minutes. Patrick Rochon and Toyota ended up doing an exhibition at Spiral Hall in Tokyo, they had post card books, posters in subways and magazine pages. They also did a promotion video shoot with light painting directed by Keiichiro Mukai.   

In his series of paintings of the Toyota Altezza he used various coloured lights to create a dramatic effect to illuminate the car. He used both forms of creating light paintings in his work. He shone the lights directly at and around the car to create coloured reflections off of the car, he also shone the lights directly at the camera lens to create different forms of light. The lights may look like they have been randomly drawn but I think that care and precision has gone into thinking about the reflections are different shapes that will be on and around the car. I personally like this series of light paintings to his other paintings. I like the fact that he has done work with other subjects rather than just people, as there is more elements within the photographs such as the reflections and use of the spacing around the car. 

Thursday, 29 December 2011

Light Terminology

                              Light Terminology


Back lighting is when the light source is facing towards the viewer with the subject in between, This causes the subject to darken and sometimes causes a glow around the edges of the subject. Back lighting is the process of illuminating a subject from the background and often creates a silhouette effect.

Front lighting is a lighting technique in which the light source is directly in front of the subject. This accentuates details of the subject, however it often results in the subject looking flat particularly in portraits. 


Soft lighting is when a light source creates a wraparound effect upon a subject this causes no harsh edges. Soft light means that the light that falls on the subject comes from multiple sources, from multiple directions or from a single, very large light source quite close to the subject that avoids harsh bright and dark areas, creating a gradual transition from highlights to shadows.

Hard light is light that comes from a single source, such as a light bulb, and falls directly on the subject from one direction without being reflected off other surfaces. It generally casts dark shadows and produces high contrast pictures with deep black and bright highlights. The shadows also generally have a very distinct or hard edge, so that the outline of the object closely reflects the shape of the shadow.   


Studio lighting doesn't mean it has to be set up in a studio, it can be used in various locations. The most common lights used on studio lighting are strobe, HMI, tungsten and fluorescent. Umbrellas and soft boxes are also used with the lighting. Soft boxes generates a shadow less diffuse light from a large surface. Umbrellas reflect the light and generally create a defused light source.


Natural Lighting
Natural lighting is the most accessible form of lighting. Natural lighting is either daylight (sunlight) or moonlight. 


Torch Lighting 
Torch lighting is illuminating certain areas of a subject by pointing it directly towards the subject to create a spotlight effect.


Laser lighting is commonly used in light paintings.They are created by using various coloured laser pens and a camera with a slow shutter. It is better to use a DSLR rather than a SLR as you can view your image straight away after the image is taken.

    Monday, 19 December 2011

    Photoshop Light Paintings

    Photoshop Light Paintings 

    These are some examples of light paintings created in Photoshop. 
    The first stage of making light paintings in Photoshop is by creating a new layer over your selected image and by selecting the paths tool draw over the image in lines and swirls. Select the brush tool and adjust the settings to what effect you want. In the paths window select the paths then click on stoke path. Go to blending options then outer glow and inner and adjust the settings. The Second stage is to create a new layer, select the brush tool and the colour to white. Go to the brush presets, change the size, the spacing, the scattering, and the size jitter. Use the brush tool do draw around some of the previous lines. Using the layer blending options add some outer and inner glow then reduce the opacity of the layer. For stage three, go back to the layers you drew the paths in, click the layer and press delete. A final thing that can make the image look good is by clicking the background image, going to image-adjustments-hue and saturation, select colourize and make the image all one colour.
    For more information on how to create light paintings in Photoshop click here.

    Wednesday, 14 December 2011

    Digital light Paintings

    Digital Light Paintings

    The light paintings below were created by using my 14 mega pixel Fujifilm JX530 digital camera. I had it on the Night Tripod setting which allowed a maximum shutter speed of 5 seconds. This meant that the drawings had to be simple shapes as they had to be quickly drawn. I experimented with using a torch to created the different shapes. I then went onto using two torches and placing pieces of tissue paper over the light so that it created different colours. 


    The image below was edited in Photoshop. the first photo I took was the halo shot, and the second was one wing. To make sure that the wings were the same I only took one picture then loaded them into Photoshop and duplicated the wing image so that I had two, I then flipped it and selected the overlay mode so that they were both visible. I set the mode of the halo image to overlay as well so that the final image looked like an angel.

    These were created by setting my digital camera to night(tripod). Using this setting it allows me to take an image with a slow shutter speed. I put my camera on a tripod, turned off all the lights in the room, pressed the shutter and drew the image. It was hard to draw actual pictures using the digital camera as I didn't have long to draw an image because the shutter exposure was too short and could not be adjusted any further.


    Wednesday, 7 December 2011

    Glow Doodle Light Drawings

    Glow Doodle Light Drawings
     Light drawings are created using a photographic technique whereby exposures are made, usually at night or in a dark room, by moving a hand-held light source or moving the camera. Light paintings can be traced back as far as 1914 when Frank Gilbert and his wife used small lights and the open shutter of a camera to track the motion of manufacturing and clerical workers. 
    Light paintings can also be done interactively by using a webcam. Whilst the images are being drawn, it can be viewed on the monitor or a video projector. For the images below I used a webcam to capture the painted images. These images were created by pointing a light source towards the camera whilst moving the light. I used two different light sources to create the images below. 


    For these images below I directed the light source at the object not towards the webcam. I moved position so that there was a repeat pattern of the object on screen.