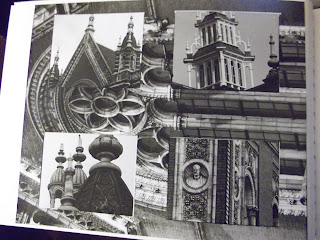
Combination printing is the technique of using two or more photographic images in conjunction with one another to create a single image. I measured out the size of the photographic paper on a piece of black paper then in the centre I measured out a smaller rectangle and cut that out using a cutting knife on a cutting board. I experimented with varying the amount of frames and the way they are placed. One of the first prints I experimented with was putting two borders around a centre print. I then tried simple versions so that there wasn't too much distraction.
I experimented further by trying to incorporate two different experiments. I used duct tape to mask out the outer frame and made sure that it was fully stuck together so that no chemicals could get to the paper. I then exposed my image to the centre part and went through the stages of solarising an image. Once it had dried I carefully pulled off the duct tape and placed a new piece over the part I solarised. I then exposed a different image to the outer part and took it through the normal stages of developing a print. Below is my outcome. I like that the outer part has not fully developed, this is because part of the glue from the tape remained in that area.
I am pleased with all of my prints as they worked the first time and create a good effect. It's a step further than creating an ordinary print and I think it works well with my theme of architecture. I am going to develop my technique further and use combination printing in my final outcome.


Come and see me about image presentation ideas for your blog
ReplyDelete